
Have you ever wondered how to take your finished projects to the next level? Well, look no further! In this article, we will explore the magic of blocking and how it can enhance your final creations. Blocking is a simple technique that involves shaping your knitted or crocheted item before it’s complete, resulting in a more polished and professional look. Whether you’re a seasoned crafter or just starting out, blocking can make a world of difference in the quality and appearance of your finished projects. So, let’s dive into the magic of blocking and unlock the true potential of your creations!
Preparation for Blocking
Choosing the Right Blocking Material
When it comes to blocking your finished knitting or crochet projects, choosing the right blocking material is essential. There are various options available, including blocking mats, foam boards, or even a clean towel on a flat surface. The material you choose will depend on the type of project you are blocking and your personal preference.
Gathering the Necessary Tools
Before you begin blocking, it’s important to gather all the necessary tools. Some essential tools you’ll need include rust-proof T-pins or blocking wires, a tape measure, spray bottle with water, and a clean towel. These tools will help you achieve the desired shape and size for your blocked project.
Preparing Your Project for Blocking
Before you start blocking, make sure your project is clean and free from any dirt or debris. If necessary, gently wash your project following the appropriate washing instructions for the yarn used. After washing, carefully remove any excess water by rolling your project in a clean towel and gently pressing to remove the moisture. Your project should be damp but not dripping wet before you move on to the blocking process.
Wet Blocking Techniques
Understanding Wet Blocking
Wet blocking is a commonly used technique to shape and set your knitting or crochet projects. It involves soaking your project in water, pinning it to the desired shape, and allowing it to dry completely. Wet blocking is particularly effective for projects made with natural fibers such as wool, as they have the ability to retain their shape when wet.
Soaking Your Project
To begin wet blocking, fill a basin or sink with lukewarm water. Gently place your project in the water, making sure it is fully submerged. Allow it to soak for at least 15-20 minutes, or until it is fully saturated. During this time, the fibers will absorb the water and become more pliable, allowing you to shape the project.
Pinning and Stretching
After soaking, remove your project from the water and gently squeeze out any excess moisture. Lay it on a clean, flat surface and start pinning it to the desired shape. Use rust-proof T-pins or blocking wires to secure the edges and stretch the project to the desired measurements. Take care to follow any specific blocking instructions provided in your pattern.
Drying Your Project
Once your project is properly pinned and stretched, allow it to dry completely. This process may take anywhere from a few hours to a couple of days, depending on the size of your project and the environmental conditions. It’s crucial to ensure your project is completely dry before unpinning, as removing the pins too early may cause it to lose its shape.
Steam Blocking Techniques
Understanding Steam Blocking
Steam blocking is an alternative blocking technique that uses steam instead of water to shape your projects. This method is particularly useful for delicate or heat-sensitive fibers that may be damaged by wet blocking. Steam blocking allows you to control the shaping process more precisely and can yield faster results.
Preparing Your Project for Steam Blocking
Before you steam block, it’s crucial to ensure your project is clean and free from any dirt or debris. Use a handheld steamer or a steam iron with a low or medium setting to generate steam. Hold the steamer close to your project, allowing the steam to penetrate the fibers. Gently shape your project as you apply the steam, using your hands or blocking tools.
Using a Steamer for Blocking
A handheld steamer is a convenient tool for steam blocking. Hold the steamer about 1-2 inches away from your project and move it in a slow, sweeping motion to evenly distribute the steam. Be cautious not to apply too much heat or direct steam in one area for too long, as it may damage the fibers. Once your project is properly shaped, allow it to cool and dry before handling.
Block Shapes and Sizes
Choosing the Right Block Shape
When it comes to blocking, choosing the right block shape is crucial to achieving the desired look for your project. Different projects may require different block shapes, such as a rectangular shape for scarves or a circular shape for hats. Consider the pattern or design of your project and choose a block shape that complements it.
Selecting the Appropriate Size
Blocking also allows you to adjust the size of your project. Whether you want to add a few inches of length to a sweater or tighten up the stitches in a lace shawl, blocking can help you achieve the desired size. Follow the measurements provided in your pattern and adjust the pinning or stretching accordingly to ensure the final size of your project meets your expectations.
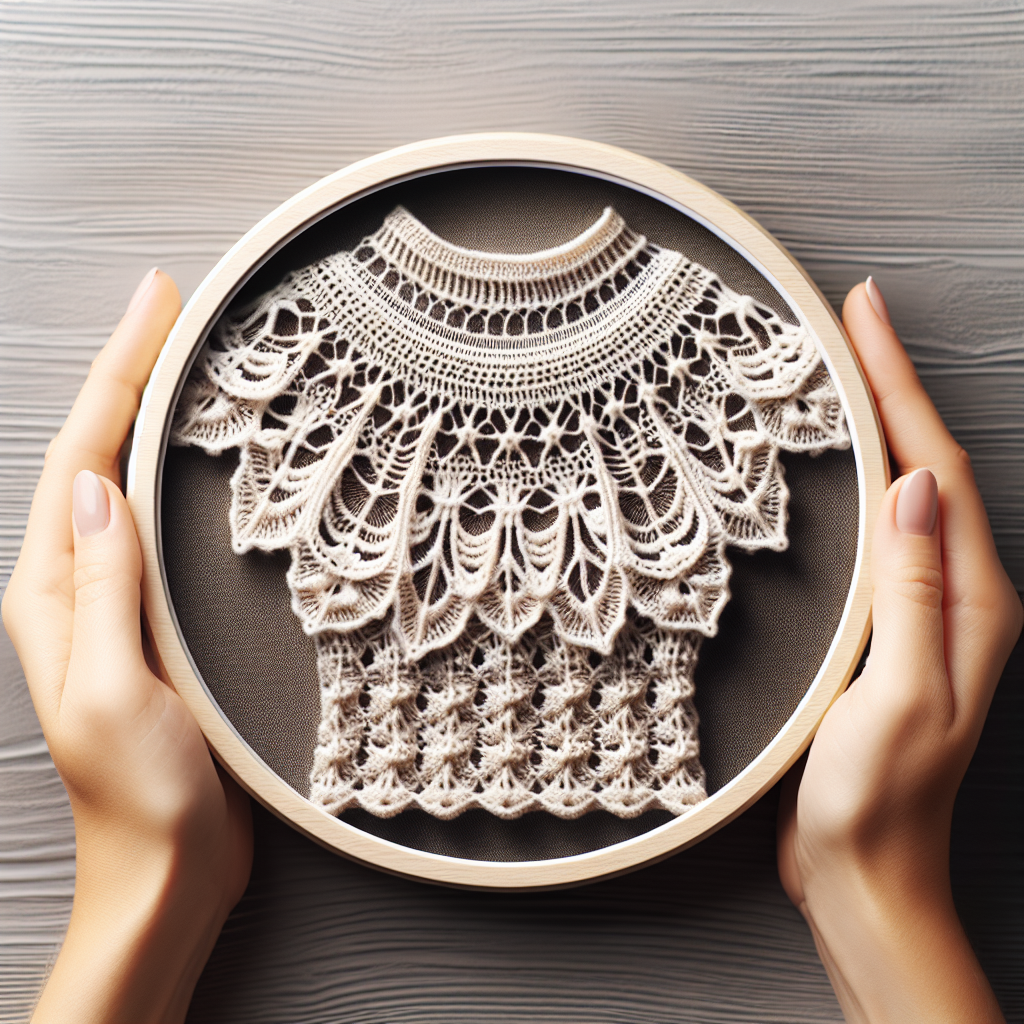
Blocking Lace Projects
The Importance of Blocking Lace
Blocking is especially important for lace projects, as it helps open up the intricate stitch patterns and enhances the overall look of the project. Before blocking, lace projects might appear crumpled or unimpressive, but with proper blocking, the stitches become more defined, and the lace motifs come to life.
Pinning Techniques for Lace
When blocking lace projects, it’s essential to use fine rust-proof T-pins or blocking wires to preserve the delicate nature of the stitches. Start by pinning the edges of your lace project to the desired shape, ensuring that the lace motifs are clearly visible. Gently stretch the fabric between the pins to open up the lace pattern fully. Take your time and be patient, as the blocking process may require precision and attention to detail.
Blocking Knitted Garments
Blocking Sweaters and Cardigans
Blocking sweaters and cardigans can help even out stitches, relax the fabric, and ensure a professional, polished finish. Following the washing and blocking instructions for your chosen yarn, gently shape the sweater on a towel or blocking mat to the desired dimensions. Pay close attention to the neckline, armholes, and any other areas that require shaping. Pin the edges and allow the garment to dry completely before unpinning.
Blocking Hats and Scarves
Hats and scarves are commonly blocked to refine their shape and improve drape. For hats, block the brim to create a crisp edge and shape the crown to the desired size. Use T-pins or blocking wires to secure the edges and ensure they stay in place while drying. Scarves can be blocked by pinning them to the desired length and width, ensuring the stitches are evenly spread. Allow both hats and scarves to dry completely before handling.
Blocking Crochet Projects
Blocking Crocheted Blankets and Afghans
Blocking crocheted blankets and afghans can help even out the stitches, enhance the overall appearance, and ensure the finished piece lays flat. Fill a basin or bathtub with lukewarm water and submerge the blanket or afghan. Gently press out any air bubbles and allow the project to soak for 15-20 minutes. After soaking, remove the excess water by gently pressing the project between towels. Lay the blanket or afghan on a flat surface and pin it to the desired shape, ensuring the corners are square. Allow it to dry completely before unpinning.
Blocking Crocheted Amigurumi
While most small crocheted amigurumi projects do not require blocking, larger stuffed animals or decorative items may benefit from some gentle shaping. Use a handheld steamer or a steam iron to apply steam to the desired areas, gently shaping the amigurumi as you go. Be careful not to over-steam and lose the stitch definition, as it may result in a floppy or distorted finished piece. Allow the amigurumi to cool and dry before handling.
Finishing Touches
Weaving in Ends
Before considering your project fully blocked, it’s essential to take care of any loose ends. Use a yarn needle or crochet hook to weave in any remaining yarn tails through the stitches on the wrong side of the fabric. This process ensures that your project looks neat and professional, with no visible loose ends.
Blocking Seams
If your project requires seaming, it’s best to block the individual pieces before sewing them together. This way, you can ensure that the seams align properly and any adjustments needed can be made before final assembly. Pin the seams in place and allow them to dry completely before moving on to assembly.
Adding Embellishments
Blocking doesn’t have to be limited to just shaping your projects. You can also use this opportunity to add extra embellishments. Whether it’s attaching buttons, beads, or embroidery, choose the appropriate materials and techniques to enhance the overall look of your finished project.
Common Mistakes to Avoid
Skipping Blocking Altogether
One of the most common mistakes is skipping blocking altogether. Blocking is an essential step in the finishing process and can drastically improve the appearance of your projects. Don’t underestimate the power of blocking to transform your finished piece from good to great.
Using the Wrong Blocking Technique
Another common mistake is using the wrong blocking technique for the type of project or fiber you’re working with. It’s important to understand the characteristics of your yarn and select the appropriate blocking method accordingly. Wet blocking may work well for natural fibers like wool, while steam blocking may be more suitable for delicate or heat-sensitive materials.
Overblocking or Underblocking
Finding the right balance in blocking is crucial. Overblocking, or excessively stretching your project, can lead to distortion or loss of stitch definition. On the other hand, underblocking may not yield the desired shape or size. Take your time, follow the instructions, and make adjustments as needed to achieve the perfect balance.
Caring for Blocked Projects
Storing Blocked Items
Once your project is blocked and completely dry, it’s important to store it properly to maintain its shape and condition. Fold or roll the project gently and place it in a clean, dry storage container or bag. Avoid storing your blocked projects in direct sunlight, excessively humid environments, or areas prone to pests.
Refreshing Blocked Projects
Over time, the shape of your blocked project may slightly lose its form. If this happens, you can refresh the shape by lightly misting it with water and reshaping it. Gently pin the edges and allow it to dry naturally. This quick and easy process can help restore the blocked appearance and keep your project looking its best for years to come.
In conclusion, blocking is a magical technique that can truly enhance the finished appearance of your knitting or crochet projects. Whether it’s shaping lace to showcase intricate patterns, ensuring the perfect fit for a garment, or refining the look of a crocheted blanket, blocking can make a world of difference. By following the right techniques, using the appropriate tools, and paying attention to detail, you’ll be able to achieve professional and polished results. So don’t hesitate to embrace the magic of blocking and take your projects to the next level!