
So you want to learn how to knit a basic hat? Look no further! In this step-by-step guide, we will walk you through the entire process, from choosing the right materials to casting on and shaping your hat. Whether you’re a seasoned knitter or a complete beginner, this article is perfect for you. Get your knitting needles ready and let’s get started on creating a cozy and stylish hat that you can proudly wear all winter long!
Supplies
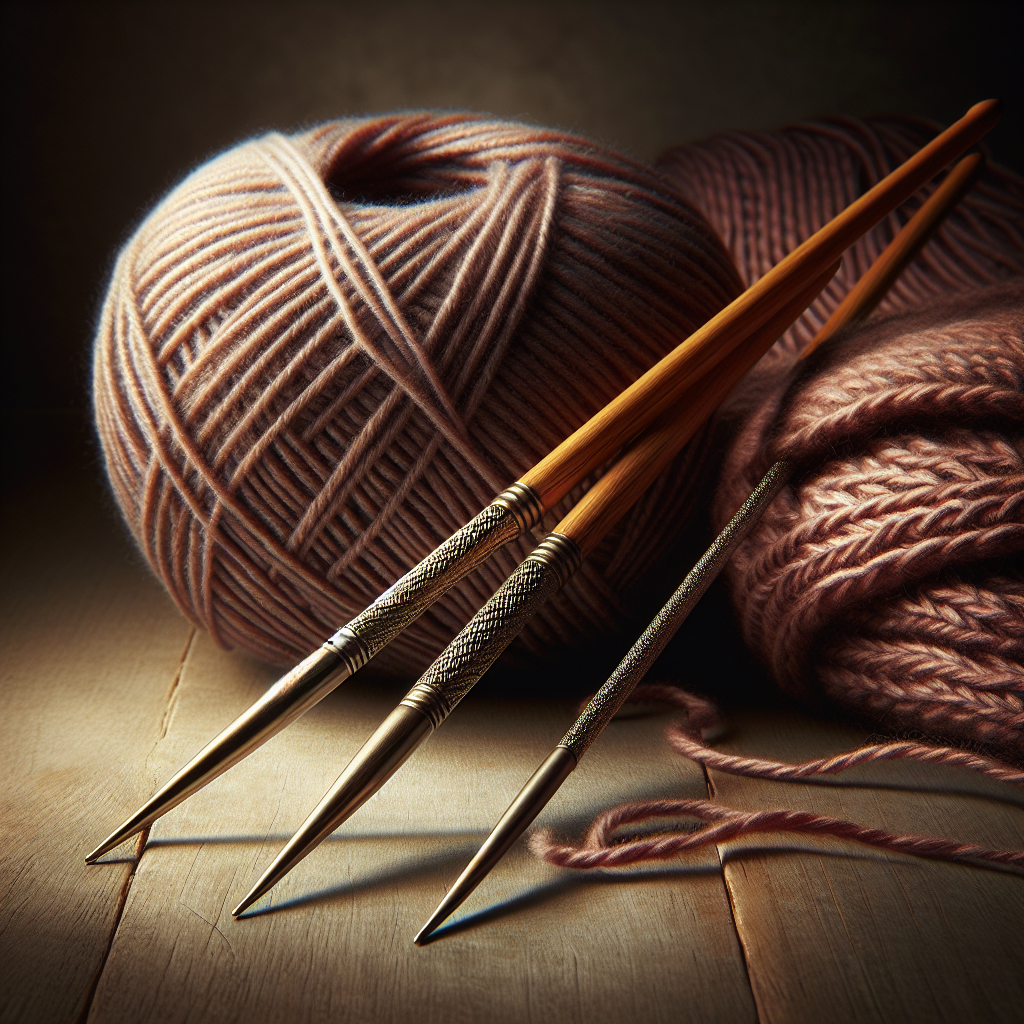
To knit a basic hat, you will need a few essential supplies. These include yarn, knitting needles, a stitch marker, and a tapestry needle.
Yarn
Choosing the right yarn for your hat is crucial. Look for a yarn that is suitable for the desired size and warmth of the hat. Consider the fiber content, texture, and color of the yarn as well. Acrylic yarn is a popular choice for beginners due to its affordability and ease of care.
Knitting Needles
The size of your knitting needles will determine the gauge and size of your hat. Refer to the pattern you’ve chosen (more on that later) to determine the recommended needle size. Circular needles are often used for knitting hats, but you can also use double-pointed needles for smaller sizes or if you prefer to work in sections.
Stitch Marker
A stitch marker is a small object, like a safety pin or a piece of yarn, that helps you keep track of the beginning of each round when knitting in the round. Place the stitch marker on your needle after the first stitch to mark the starting point.
Tapestry Needle
A tapestry needle is used for weaving in ends and seaming your hat. Ensure that the needle has a large enough eye to accommodate your yarn.
Gauge Swatch
Before diving into your hat project, it’s important to create a gauge swatch. This small sample will help you determine the correct tension and ensure that your hat turns out the right size.
Importance of a Gauge Swatch
A gauge swatch allows you to check whether your knitting tension matches the gauge specified in the pattern. By knitting a small sample, you can measure how many stitches and rows fit into a given measurement, usually 4 inches or 10 centimeters. This step is crucial to ensure that your hat will fit properly.
Measuring Gauge
To measure gauge, use the same yarn and needle size specified in the pattern. Cast on enough stitches to create a sample that is at least 4 inches wide. Knit your swatch in the main stitch pattern or stockinette stitch. Once complete, lay your swatch flat and use a ruler or a gauge measuring tool to count the number of stitches and rows that fit within the 4-inch measurement. Compare these measurements with the gauge specified in the pattern.
Calculating Gauge
If your gauge matches the pattern, you can proceed with confidence. However, if your gauge is different, you may need to change your needle size or adjust your tension. If your gauge has too few stitches per inch, try knitting with smaller needles or tightening your tension. If your gauge has too many stitches per inch, try larger needles or loosening your tension. Remember, achieving proper gauge is essential for a well-fitting hat.
Choosing a Pattern
Once you’ve gathered your supplies and determined your gauge, it’s time to choose a pattern for your basic hat. There are countless patterns available online or in knitting books, but for beginners, it’s best to select a simple and straightforward pattern.
Selecting a Basic Hat Pattern
Look for patterns labeled “beginner” or “easy.” These patterns often include clear instructions and minimal shaping. A basic hat pattern typically consists of a ribbed brim followed by the main body knit in a specific stitch pattern, usually stockinette stitch. Pay attention to the recommended yarn weight, needle size, and gauge to ensure a successful outcome.
Understanding Pattern Terminologies
Before starting a pattern, familiarize yourself with common knitting terminologies. This will make it easier to follow the instructions. Terminologies such as “k” (knit), “p” (purl), “k2tog” (knit two stitches together), and “ssk” (slip, slip, knit) are commonly used in hat patterns.
Considering Difficulty Level
When selecting a pattern, consider your skill level and the level of challenge you’re seeking. If you’re a beginner, stick to patterns labeled as “easy” or “beginner-friendly.” As you gain more experience, you can gradually try more intricate designs with advanced techniques.
Casting On
Now that you have your pattern and are ready to begin knitting, it’s time to cast on your stitches.
Long Tail Cast On
The long tail cast on is a commonly used method for casting on stitches. It provides a tidy and stretchy edge, perfect for the brim of your hat. To perform this technique, measure a tail of yarn that is approximately three times the width of your desired cast on stitches. Follow step-by-step instructions or watch video tutorials to master this technique.
Choosing the Right Number of Stitches
The pattern you have chosen will specify the number of stitches to cast on. Ensure you cast on the correct number to achieve the desired size of your hat. If you need to make adjustments for a custom fit, follow the instructions provided in the pattern or consult a knitting resource for guidance.
Joining in the Round
To knit a hat, you’ll typically work in the round rather than knitting flat panels that require seaming. There are two common methods for joining in the round: using circular needles or double-pointed needles.
Circular Needles
Circular needles consist of a flexible cable with two needle tips. Choose a circular needle length that is appropriate for the circumference of your hat. To join in the round using circular needles, simply knit the first stitch of your cast on row, ensuring that the stitches are not twisted around the cable. Place a stitch marker to indicate the beginning of the round.
Double Pointed Needles
Double-pointed needles (DPNs) are used for smaller hat sizes or when working on small sections of the hat. When using DPNs, divide your cast on stitches evenly onto three or four separate needles, depending on the pattern. With an additional needle as your working needle, knit the first stitch, ensuring that the stitches are not twisted. Place a stitch marker to indicate the beginning of the round.
Joining the Stitches
No matter which method you choose, make sure your stitches are not twisted around the needles or cable. This will ensure a seamless join when knitting in the round. Taking the time to properly join your stitches will make it easier and more enjoyable to knit your hat.
Knitting the Ribbing
After joining in the round, it’s time to knit the ribbing for the brim of the hat. Ribbing creates a stretchy and snug edge, helping the hat stay in place.
Identifying Knit and Purl Stitches
In the ribbing pattern, you will alternate between knitting and purling stitches. Knit stitches have a smooth “V” shape, while purl stitches have a bumpy texture. It’s important to correctly identify these stitches to maintain the ribbing pattern.
Working the Ribbing Pattern
The most common ribbing pattern for hats is the 1×1 rib, which alternates between knit and purl stitches in each round. Follow your pattern’s instructions on the number of rounds to work the ribbing. As you progress, you will notice the ribbing forming a stretchy band, giving your hat a comfortable and snug fit.
Body of the Hat
Once the ribbing is complete, it’s time to move on to the main body of the hat. In this section, you will work in stockinette stitch, creating the smooth, knitted fabric commonly seen in hats.
Establishing the Body
Switching from the ribbing pattern, continue knitting all stitches in each round for the desired length as specified in your pattern. Ensure that you maintain the correct stitch count and use stitch markers if needed to keep track of the beginning of each round.
Working in Stockinette Stitch
Stockinette stitch is created by knitting every stitch in one round, then purling every stitch in the next, repeating these two rounds. The result is a smooth and even fabric. Remember to alternate between knitting and purling rounds to achieve the desired stockinette stitch effect.
Checking the Length
As you knit the body of the hat, periodically try it on to ensure it is reaching the desired length. Different hat styles and personal preferences may affect how long you want the body of your hat to be. Take measurements against your head or refer to the pattern to determine the appropriate length before moving on to the next step.
Decreasing Stitches
As you near the top of the hat, it’s time to decrease the number of stitches to create the crown shaping.
Understanding Decrease Stitches
Decrease stitches are used to shape the crown of the hat and bring the stitches together at the top. Common decrease stitches include “k2tog” (knit two stitches together) and “ssk” (slip, slip, knit). These techniques create a neat and symmetrical decrease, closing the hat’s crown smoothly.
Choosing the Right Decrease Method
The pattern you’re following will guide you on when and how to decrease stitches. Different decrease methods create varying crown shapes, such as a rounded or pointy top. Follow the instructions in your pattern to achieve the desired crown shaping for your hat.
Finishing the Hat
With the crown shaping complete, it’s time to finish your hat by securing the remaining stitches.
Breaking the Yarn
Once you have completed the crown shaping, finish knitting the last round. Cut the yarn, leaving a tail of several inches. Thread the tail through a tapestry needle, then pass the needle through each remaining stitch on the needle. This process gathers the stitches together securely and prevents them from unraveling.
Weaving in Ends
With your stitches secured, it’s time to weave in the ends. Thread the yarn tail onto the tapestry needle and weave it in and out of the stitches on the wrong side of the fabric. This hides the yarn tail and ensures that it won’t come loose. Trim any excess yarn, and congratulations, you’ve finished knitting your basic hat!
Blocking
Blocking is the final step in finishing your hat, where you shape and set your knitted fabric to its desired dimensions.
Importance of Blocking
Blocking ensures that your hat looks and fits its best. It evens out your stitches, softens the fabric, and helps the hat maintain its shape. Blocking can be particularly beneficial if your hat has lace or textured stitch patterns that need to open up.
Blocking Techniques
The blocking technique you choose will depend on the fiber content of your yarn and the desired outcome. For natural fibers like wool, wet blocking is often used. This involves soaking your hat in lukewarm water, gently squeezing out excess water, then shaping it to the desired size. Allow it to dry completely before wearing. For acrylic yarns or when time is limited, steam blocking or gentle spritz blocking can be effective alternatives.
Now that you have a comprehensive understanding of how to knit a basic hat, it’s time to gather your supplies, choose a pattern, and embark on your knitting adventure. Grab your yarn, needles, stitch marker, and tapestry needle, and enjoy the process of creating a cozy and stylish hat that you can proudly wear or gift to someone special. Happy knitting!