
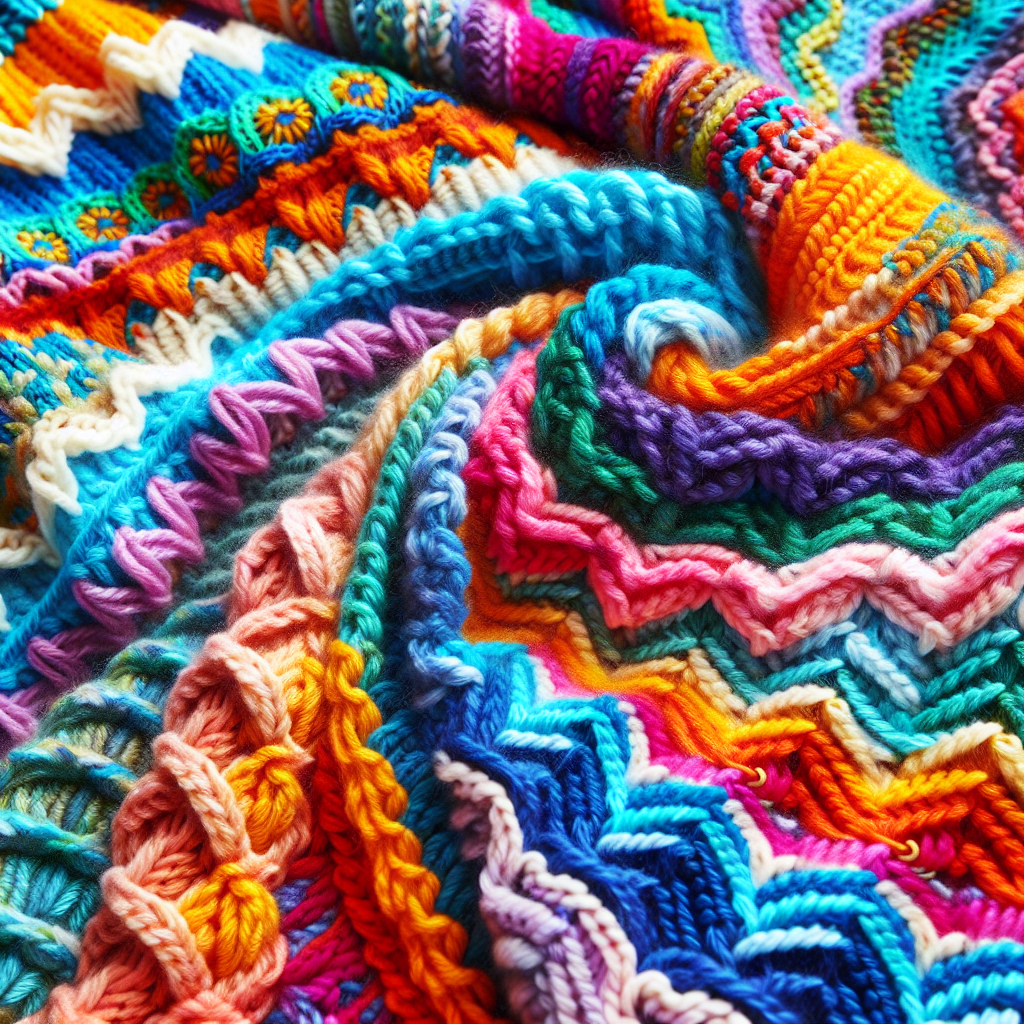
If you’re looking for some fun and engaging activities to keep your kids busy, why not introduce them to the art of knitting? Not only is knitting a great way to enhance their creativity and motor skills, but it also fosters patience and a sense of accomplishment. In this article, we’ve compiled a list of 10 easy knitting projects that are perfect for kids. From colorful scarves to cozy hats, these projects are designed to be simple and enjoyable, making them a perfect introduction to the world of knitting. So, grab your needles and yarn, and let’s get started on these exciting projects that will have your little ones knitting in no time!
Finger Knit Bracelets
Materials Needed
To make finger knit bracelets, you will need:
- Different colored yarns of your choice
- Scissors
Instructions
- Start by choosing the yarn color for your first bracelet. Cut a long piece of yarn, approximately 3 feet long.
- Tie a knot at one end of the yarn, leaving a small loop at the end.
- Place the loop around your thumb and hold it with your other fingers.
- Take the loose end of the yarn and bring it over your index finger.
- Loop it around the back of your index finger and bring it through the thumb loop.
- Slide the loop off your thumb, but keep it on your index finger.
- Repeat steps 4-6 until you have desired bracelet length.
- Once you’re finished finger knitting, carefully slide the loops off your fingers, making sure to keep the bracelet intact.
- Tie the loose ends of the bracelet together in a knot, creating a circle.
- Trim any excess yarn and your finger knit bracelet is ready to wear!
Knitted Headbands
Materials Needed
To make knitted headbands, you will need:
- Chunky yarn in your favorite color
- Knitting needles
Instructions
- Start by casting on stitches on your knitting needles. The number of stitches will depend on the desired width of your headband.
- Once you have cast on, begin knitting by inserting one needle into the first stitch from left to right, and then the second needle into the next stitch.
- Repeat this knitting motion for each row until your headband reaches the desired length.
- When you have reached the desired length, bind off the stitches by knitting two stitches, and then pulling the first stitch over the second stitch and off the needle. Continue this process until you have one stitch left on the needle.
- Cut the yarn, leaving a long tail. Thread the tail through the final stitch, pull tight, and secure.
- Fold the knitted strip into a loop and sew the ends together, using the tail of yarn to stitch them.
- Trim any excess yarn and you have a cozy knitted headband to keep you warm and stylish!
Cozy Scarf
Materials Needed
To make a cozy scarf, you will need:
- Worsted weight yarn in a color of your choice
- Knitting needles
Instructions
- Start by casting on stitches on your knitting needles. The number of stitches will determine the width of your scarf.
- Once you have cast on, begin knitting by inserting one needle into the first stitch from left to right, and then the second needle into the next stitch.
- Repeat this knitting motion for each row until your scarf reaches the desired length.
- When you have reached the desired length, bind off the stitches by knitting two stitches, and then pulling the first stitch over the second stitch and off the needle. Continue this process until you have one stitch left on the needle.
- Cut the yarn, leaving a long tail. Thread the tail through the final stitch, pull tight, and secure.
- Your cozy scarf is now ready to keep you warm during the colder months. Wrap it around your neck and you’re good to go!
Cute Cup Cozies
Materials Needed
To make cute cup cozies, you will need:
- Worsted weight yarn in various colors
- Knitting needles
- Buttons (optional)
Instructions
- Start by casting on stitches on your knitting needles. The number of stitches will depend on the circumference of your cup.
- Once you have cast on, begin knitting by inserting one needle into the first stitch from left to right, and then the second needle into the next stitch.
- Repeat this knitting motion for each row until your cozy reaches the desired length.
- When you have reached the desired length, bind off the stitches by knitting two stitches, and then pulling the first stitch over the second stitch and off the needle. Continue this process until you have one stitch left on the needle.
- Cut the yarn, leaving a long tail. Thread the tail through the final stitch, pull tight, and secure.
- If desired, sew a button onto one end of the cozy, making sure it aligns with the buttonhole created by the stitches.
- Slip your cute cup cozy onto your favorite cup and enjoy your hot beverage in style!
Pocket-sized Pouch
Materials Needed
To make a pocket-sized pouch, you will need:
- Worsted weight yarn in your preferred colors
- Knitting needles
- A small button
Instructions
- Start by casting on stitches on your knitting needles. The number of stitches will determine the width of your pouch.
- Once you have cast on, begin knitting by inserting one needle into the first stitch from left to right, and then the second needle into the next stitch.
- Repeat this knitting motion for each row until your pouch reaches the desired height.
- When you have reached the desired height, bind off the stitches by knitting two stitches, and then pulling the first stitch over the second stitch and off the needle. Continue this process until you have one stitch left on the needle.
- Cut the yarn, leaving a long tail. Thread the tail through the final stitch, pull tight, and secure.
- Fold your knitted piece in half, ensuring the bottom edges align. Use a sewing needle and thread to sew the side edges together, leaving the top open for the pouch opening.
- Once the sides are sewn, attach a small button to the front of the pouch, aligning it with the opening.
- Your pocket-sized pouch is now complete. Use it to store small trinkets or as a cute accessory!
Colorful Dishcloth
Materials Needed
To make a colorful dishcloth, you will need:
- Cotton yarn in various colors
- Knitting needles
Instructions
- Start by casting on stitches on your knitting needles. The number of stitches will determine the width of your dishcloth.
- Once you have cast on, begin knitting by inserting one needle into the first stitch from left to right, and then the second needle into the next stitch.
- Repeat this knitting motion for each row until your dishcloth reaches the desired size.
- When you have reached the desired size, bind off the stitches by knitting two stitches, and then pulling the first stitch over the second stitch and off the needle. Continue this process until you have one stitch left on the needle.
- Cut the yarn, leaving a long tail. Thread the tail through the final stitch, pull tight, and secure.
- Your colorful dishcloth is now ready to add a pop of color to your kitchen. Use it for washing dishes or as a decorative piece!
Knitted Toy
Materials Needed
To make a knitted toy, you will need:
- Worsted weight yarn in your desired colors
- Knitting needles
- Polyester stuffing
- Yarn needle
Instructions
- Start by casting on stitches on your knitting needles. The number of stitches will depend on the size of your desired toy.
- Once you have cast on, begin knitting by inserting one needle into the first stitch from left to right, and then the second needle into the next stitch.
- Repeat this knitting motion for each row until your knitted piece reaches the desired size for your toy.
- When you have reached the desired size, bind off the stitches by knitting two stitches, and then pulling the first stitch over the second stitch and off the needle. Continue this process until you have one stitch left on the needle.
- Cut the yarn, leaving a long tail. Thread the tail through the final stitch, pull tight, and secure.
- Use a yarn needle to sew up the sides of your knitted piece, leaving a small opening for stuffing.
- Fill the toy with polyester stuffing, making sure it is evenly distributed.
- Sew up the remaining opening and secure any loose ends of yarn.
- Your knitted toy is now complete and ready for playtime or to be displayed as a cute decoration!
Decorative Bookmarks
Materials Needed
To make decorative bookmarks, you will need:
- Worsted weight yarn in various colors
- Knitting needles
Instructions
- Start by casting on stitches on your knitting needles. The number of stitches will determine the width of your bookmark.
- Once you have cast on, begin knitting by inserting one needle into the first stitch from left to right, and then the second needle into the next stitch.
- Repeat this knitting motion for each row until your bookmark reaches the desired length.
- When you have reached the desired length, bind off the stitches by knitting two stitches, and then pulling the first stitch over the second stitch and off the needle. Continue this process until you have one stitch left on the needle.
- Cut the yarn, leaving a long tail. Thread the tail through the final stitch, pull tight, and secure.
- To add a decorative touch to your bookmark, you can use different colors of yarn to create stripes or add small embellishments such as buttons or beads.
- Your decorative bookmark is now ready to mark your spot in your favorite book!
Fashionable Slippers
Materials Needed
To make fashionable slippers, you will need:
- Chunky yarn in your preferred color
- Knitting needles
- Pom-pom (optional)
Instructions
- Start by casting on stitches on your knitting needles. The number of stitches will depend on the size of your foot.
- Once you have cast on, begin knitting by inserting one needle into the first stitch from left to right, and then the second needle into the next stitch.
- Repeat this knitting motion for each row until your slipper reaches the desired length to cover your foot.
- When you have reached the desired length, bind off the stitches by knitting two stitches, and then pulling the first stitch over the second stitch and off the needle. Continue this process until you have one stitch left on the needle.
- Cut the yarn, leaving a long tail. Thread the tail through the final stitch, pull tight, and secure.
- Fold your knitted piece in half, ensuring the sole part aligns. Use a sewing needle and thread to sew the back of the slipper together, leaving the top open for your foot.
- If desired, attach a pom-pom to the top of the slipper for added flair.
- Repeat these steps to make the second slipper.
- Your fashionable slippers are now complete. Slip them on for cozy and stylish feet!
Mini Scarf Keychain
Materials Needed
To make a mini scarf keychain, you will need:
- Worsted weight yarn in your favorite colors
- Knitting needles
- Keychain ring
Instructions
- Start by casting on stitches on your knitting needles. The number of stitches will determine the width of your mini scarf.
- Once you have cast on, begin knitting by inserting one needle into the first stitch from left to right, and then the second needle into the next stitch.
- Repeat this knitting motion for each row until your mini scarf reaches the desired length.
- When you have reached the desired length, bind off the stitches by knitting two stitches, and then pulling the first stitch over the second stitch and off the needle. Continue this process until you have one stitch left on the needle.
- Cut the yarn, leaving a long tail. Thread the tail through the final stitch, pull tight, and secure.
- Attach a keychain ring to one end of the mini scarf by threading the yarn tail through the ring and tying a knot to secure it.
- Your mini scarf keychain is now ready to be attached to your keys, backpack, or used as a cute accessory!
By trying out these easy knitting projects for kids, you can have fun while improving your knitting skills. Whether you want to create accessories like finger knit bracelets, headbands, scarves, cup cozies, pouches, bookmarks, or even knitted toys, there’s something for everyone. Choose your favorite materials, follow the simple instructions, and let your creativity shine through. Happy knitting, and enjoy the satisfaction of completing your own handmade creations!